Showing posts with label food. Show all posts

Sunday, October 27, 2013

Oh Snap! Gingersnaps!


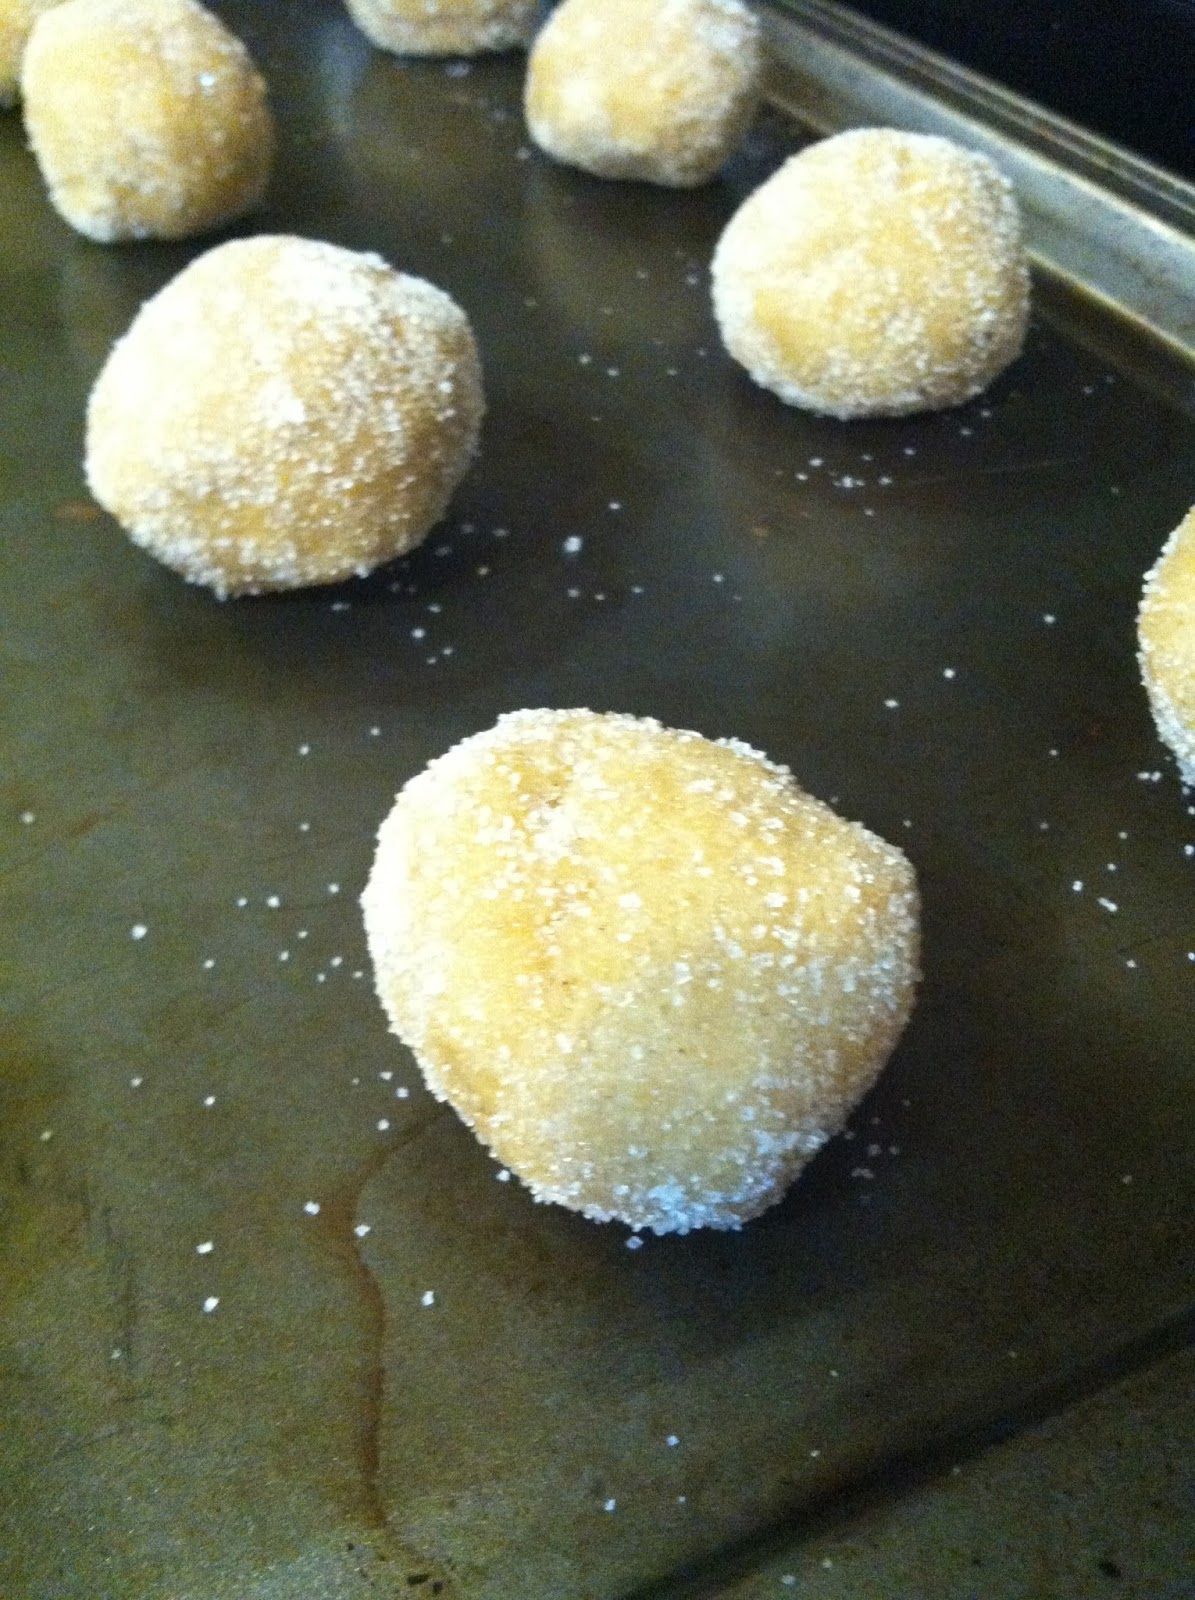
Crinkly, cracked, sugary perfection.
All wrapped up in a pretty brown bursting-with-fall-flavor package.


This is the recipe for Gingersnaps that i've been using for years, and it's my most requested cookie during Fall.

Every year, friends and family know that Fall is here when I start doling out the Gingersnaps. I bring them to family functions, holidays, parties, you name it; they're always devoured.

What makes these little flavor-packed cookies so scrumptious? Some say the smell or the amount of flavor packed into each little cookie. Others say it's the soft and chewy inside with a crispy, sugar-coated outside. Whatever it is, it doesn't matter.


Another wonderful thing about these little treats are that they leave your whole kitchen smelling fantastic. Also, these are super kid-friendly! My daughter loves to help me in the kitchen and she loves making these cookies because she gets to roll them and shape them to her heart's content.

Personally, I think that what makes these cookies is that you completely coat them in sugar and then bake them. My daughter likes to flatten them on the baking sheet, but I leave them completely rounded and let them flatten naturally as they bake.


Not to mention, I'm probably the worst blogger ever. Seriously? It's been almost two months since I've last posted something?
It's not that I don't cook. I do. All the time.
But, I find it so hard to edit photos and then post the recipes and stuff while chasing an (almost) two-year-old.

Forgive me, world.


Gingersnap Cookies

Ingredients:

  • 3/4 cup of shortening
  • 1 cup brown sugar (packed)
  • 1 egg
  • 1/4 cup molasses
  • 2 1/4 cups all-purpose flour
  • 2 tsp baking soda
  • 1 tsp ground cinnamon
  • 1 tsp ground ginger
  • 1/2 tsp ground cloves
  • 1/4 tsp salt
  • sugar

Directions:

Mix thoroughly your shortening, brown sugar, egg, and molasses until creamy. Blend in the remaining ingredients, except for the sugar. Cover and chill for up to 1 hour.

Preheat oven to 375 degrees. Shape dough by rounded teaspoonfuls into balls. Roll dough in a bowl of sugar until completely coated (I've also done the plastic bag method, where you fill a plastic baggy with sugar and shake the dough around until it's coated. This works too, but you'll have to reshape your dough after you're done).

Place balls of dough onto a cookie sheet covered with parchment paper, up to 3 inches apart. Bake for about 10-12 minutes depending on how crispy you like them.

Remove immediately from baking sheet onto a cooling rake.*

*With these cookies that they may feel like they're undercooked when you take them out of the oven, but they will firm up as they sit. I bake mine for 10 minutes. If I leave them in for the additional 2 minutes, I find that they become more crispy on the inside and I'm not a fan of crispy cookies.

Photos taken with iPhone4 and edited with iPhoto.

Tuesday, July 30, 2013

Peanut Butter Cookies


While planning and packing for our mini-Colorado vacation, StudHubs and Little Bird requested some cookies to go along on our trip.
What kind of cookies did they ask for?
Peanut Butter.
Everytime. Never fails.
Actually, StudHubs like the peanut butter cookies with the Hershey's kisses in the middle (which kind of look like little flowers), so I might be generous and throw some of those in there for him.
Only because I love him.

I feel like all that I'm doing is constantly posting recipes for sweets, but I'll even this out soon.
Believe me. You'll be begging for my dessert recipes again.
Mwuahaha.


Assemble ingredients! I like saying that. Even though I haven't watched the Avengers yet.
Sad story, but we'll probably watch it soon. I have it on Netflix!
(*Not pictured is the brown sugar and Hershey's Kisses)


Cream your shortening and peanut butter into a beautiful creamy concoction.


Looks the exact same, doesn't it? But don't worry, this is a different picture!
Add in the egg, milk, and vanilla.
Mix that bad boy up.


In a separate bowl (sorry for the lack of picture, I was on a time-crunch with making these), sift together your flour, salt, baking soda, and cinnamon.
Slowly add into the peanut buttery goodness.


Until it's all incorporated! It comes together beautifully and it fun to mold.
If you have kids, this will be one of their favorite cookie dough recipes. Little Bird loves to help me make the balls of dough and them mash them with a fork.
She can get a little excessive with the fork though...

Let the dough chill in your fridge for at least an hour.
I had mine chill overnight because the heat in Texas in unbearable.
Hot ovens make for hot kitchens - which does not make for happy families in the summer.


There are multiple options to cover your cookie dough. Either with a tea towel - like I do, or with plastic wrap, or even with both!
Please note that if you chilled your cookie dough overnight, set it out for at least ten minutes before you handle the dough. This allows it to get soft enough to handle!


Roll your cookie dough in sugar!


Put on your baking pan (in case you weren't sure what to do with these delectable balls of dough).


Then make a crisscross pattern with your fork!
For the cookies with the chocolate kisses in the middle, I didn't flatten though because then it makes the cookie awkwardly thin. So for each pan, I made six cookies with the crisscrosses and six cookies were left in their primitive state.


Be sure to unwrap your chocolate kisses while the cookies are baking to a beautiful golden brown.


Bake up those cookies!

Once the come out of the oven, transfer them to a cooling rack immediately. They will seem soft and gooey, but I promise they harden up as they cool.
Immediate push the chocolate kisses into the center of your cookie dough until it just barely sits in there.

Like this.

Then sit back and watch your family devour these bad boys.
If you're like me, you'll have to hide a few just so you can have some. These are usually gone in an hour in my household.

Ingredients for Peanut Butter Cookies

Adapted from Hershey's Kitchens
  • 1/2 cup shortening
  • 3/4 cup creamy Peanut Butter
  • 1/3 cup sugar
  • 1/3 cup packed brown sugar
  • 1 egg
  • 2 tbsp milk
  • 1 tsp vanilla extract
  • 1 1/2 cup all-purpose flour
  • 1 tsp baking soda
  • 1/2 tsp salt
  • 1 tsp ground cinnamon
  • Additional sugar for rolling dough
  • Hershey's kisses (optional)

Directions

Cream shortening and peanut butter in a large bowl. Add in 1/3 cup of sugar and brown sugar, beating until fluffy. Add in milk, egg, and vanilla, mixing well. In a separate bowl, sift together flour, soda, salt, and cinnamon. Slowly add into peanut butter mixture, making sure to beat the dough together until everything is incorporated. 
Refrigerate for at least one hour. Make sure to let the dough stand at room temperature for at least ten minutes if refrigerated overnight.
Preheat oven to 375 F.
Shape dough into 1-inch balls and roll in additional sugar until coated.
For regular peanut butter cookies, use a fork to make a crisscross pattern on the cookie.
For cookies with chocolate kisses, leave cookie dough in a ball form on your baking pan.
Bake for 8 to 10 minutes.
If you are making the cookies with the chocolate kisses, make sure to unwrap your kisses while they are cooking.
Remove immediately to a cooling rack.
Press chocolate kisses into the unformed cookie dough and let sit until cookies come to room temperature.
Hide some and let your family enjoy the rest.

Photos were taken with iPhone 4 and edited with iPhoto.


Thursday, July 18, 2013

Banana Bread with Streusel Swirl

The warm smell of baked bread wafting through the house in the early morning. It's a homey smell, laced with warm cinnamon.
It's a smell I woke up to a lot in my childhood home.
The smell of freshly baked banana bread.


Oh, the memories.

My mother has a slight obsession with baking this Southern comfort food during the summertime and especially in the holidays. But who doesn't love Banana Bread?!

The recipe I used for this is a tried-and-true family recipe that goes all the way back to my Great-Grandmother in the 1950s.
It's a bit different than my own, but I couldn't think of a better recipe to share with you than this version.

It's a very sturdy version, that bakes up beautifully into a tall one pound loaf. I've tweaked this a tiny bit and added a streusel filling and topping along with some chocolate chips. I have a lovely coffee cake recipe that's my go-to (I'll add this later) and rather than make two different things, I thought I would combine them.

I hope you enjoy this as much as my family does!

Firstly, gather your ingredients!


Cream the shortening and sugar.


Beat your two eggs in a small glass before adding them to your batter. I like to use my Norman Rockwell collector's glasses. Also add the mashed bananas, vanilla, and lemon juice at this point. Mix it well!

Finally, add in the rest of your ingredients and mix until it's all incorporated and looks delicious!


Be sure to preheat your oven to 375 F and put half of the batter in a well-greased loaf pan.
Now it's time for streusel!


Combine all of your streusel ingredients in a bowl (I used a glass bowl, I promise it's not just sitting on my counter!) and crumble with your hands until the butter is well incorporated in everything. It should be crumbly, not wet. Put a very generous layer of streusel (about half of what's in the bowl) on the batter that's in your pan and sprinkle generously with chocolate chips. I like the mini kind.


Pour the remaining batter on top. Use a knife to swirl the batter and the streusel filling around in your loaf pan. Top with remaining streusel and some more chocolate chips (if you feel like it). Put it in the oven and bake until set and a knife comes out easily without a lot of batter on it. 
Note: The knife test might come out with butter on it from the streusel filling. This is fine.

My Little Bird enjoying some of the finished product for breakfast this morning. 
Big slice for a little girl.


Mers' Banana Bread

  • 1/2 c. shortening
  • 1 c. sugar
  • 2 eggs
  • 1 c. mashed bananas (about 3)
  • 1 tsp. lemon juice
  • 1 tsp. vanilla
  • 2 c. flour
  • 3 tsp. baking powder
  • 1/2 tsp. salt
  • 1 tsp. cinnamon

Streusel Filling

  • 2/3 c. sugar
  • 1/2 c. flour
  • 1 tsp. cinnamon
  • 4 tbsp. cold butter

Directions

Preheat oven to 375 F.
Cream shortening and sugar in a stand mixer. Beat eggs in a separate glass or bowl and add to the creamed mixture. Add in mashed bananas (or whole overly-ripened bananas - which will smash themselves), lemon juice, and vanilla. Sift flour, baking powder, cinnamon, and salt in a separate bowl and add to the wet mixture in batches to make sure it's well-incorporated.

In a separate bowl, combine sugar, flour, cinnamon, and butter for the streusel until crumbly.

Pour half of the banana bread batter into a well-greased loaf pan. Sprinkle streusel filling on the batter and adorn with chocolate chips. Add in remaining batter and swirl with a knife to get a swirl effect. Top with remaining streusel and chocolate chips.

Bake in the oven for an hour or until bread is set and knife comes out clean.*

Makes 1 one pound loaf.

* Baking times vary depending on the weather or the type of oven you have.

Photos were taken with my iPhone 4 and edited on iPhoto.